There's nothing better than a glass of sparkling, homemade kombucha to get into the festive spirit. It's a great alternative to bring to christmas gatherings, in place of alcohol, and makes a wonderful gift. It also boosts gut health, which we all need a little of around Christmas time.
What is Kombucha?
Kombucha is a delicious, sparkling, cultured, probiotic drink, made from regular tea, containing beneficial lactic acid bacteria. It is cultured (fermented) using a symbiotic relationship between a fungus and bacteria. Sound creepy?! Maybe. However, rest assured that it is completely safe, healthy and the end result tastes delicious. Kombucha tea is currently widely available in health food stores in a range of brands and flavours but it is much cheaper and more fun to make your own.
Get fermenting
To make kombucha you first need someone to give you a scoby from his or her own kombucha culture (or you can buy one online). Scoby stands for Symbiotic Culture Of Bacteria and Yeast. It’s basically a mushroom that floats in your brew while the fermenting process happens. Once you have this, follow the recipe below. This makes enough kombucha for one person's daily use. Double it and use a larger jar if brewing for 2. However, for your first batch it is recommended that you only brew a single batch because your donated scoby will probably be quite small.
You will need:
· A small pot
· A funnel
· A 1.5L-2L glass jar (no lid required). NOTE: make sure you do use a glass jar because kombucha can leach metals from ceramic and metal containers in a big way. This can lead to many serious health problems.
· Another 1.5L glass jar with an airtight lid
· A plastic strainer (again, metal can be dangerous)
· A scoby, along with 1 cup of the donating persons last kombucha brew (or one cup of store-bought brew)
· 6 teaspoons of organic tea
· 1/3 cup organic sugar – don’t worry the scoby will feed on the sugar, leaving you a very low sugar drink.
· Boiling water
· 2 x 750ml or 4 x 350ml glass bottles with airtight caps
Method:
1. Boil the kettle and sterilise the glass jar with some boiling water and air dry
2. Boil the kettle again and pour 1.25L of water into the pot, along with the tea.

3. Mix in the sugar and allow to brew for 10-15 minutes with the lid on
4. Strain into the glass jar and allow tea to completely cool before adding your scoby and accompanying kombucha brew. The brew from the donating person will get the right sort of bacteria started in your own brew and ensure a successful outcome.
5. Cover the jar with a piece of cloth or an old tea towel, securing with a rubber band. This will allow your scoby to breathe. Without air it will eventually die.
6. Place the brew in a cool place, away from direct sunlight and allow to ferment for 7-14 days. The time needed will depend on the weather, the size of the scoby and the volume of liquid you are trying to brew. If it is warm it will take less time than if it is cooler. You can start tasting it at day 7 to see if it is ready. This also depends on your taste preference. If it is too sweet, you can leave it longer. But if it has become too vinegar-ish it has gone too far so taste it daily. If you are unsure, purchase a small bottle of plain kombucha from your local health food store and compare the taste (of course, your brew will never taste exactly the same as the tea used and brewing method will be slightly different). During the fermenting process you will notice that a new scoby has begun to grow, forming a layer on top of your brew. You can give this to a friend in 1 cup of your brew. Or you can throw it out.
7. Now you are ready to flavour your kombucha
The Second Ferment
Flavouring your kombucha is done in process called the second ferment. This 3-day process infuses the tea with your flavour of choice and gives it a lovely effervescence.
1. Remove your scoby and one cup of your brew, placing them in a small container and setting aside. Give the rest of the brew a good stir, ensuring you stir up any sediment on the bottom of the jar. Transfer your brew to a second, sterilised 1.5L jar (with an airtight lid). It is IMPORTANT that the sediment comes with it as this is what will make your brew fizzy in the second ferment. Without it you will have flat kombucha.
2. Get your next brew going right away by adding the scoby and one cup of brew to a new batch, using the method above.
3. Chop up some of your favourite fruit and add it to the current brew. You'll need 3/4 cup per 1.5L. Some favourites of mine are: strawberry & basil (throw in a handful of fresh, torn basil leaves), mango with freshly grated turmeric & ginger (about a thumb size piece of each), raspberry and lemon (juice of 1/2 a lemon).
4. Place the lid on tightly and leave in a cool place, away from direct sunlight, for a further 3 days.
5. Using the funnel, strain your kombucha into the smaller bottles (make sure these have been sterilised with boiling water and allowed to cool). Place the caps on nice and tight and place them in the fridge.
6. Your kombucha is now ready to drink! Start slowly by having just 15ml/day with food and increase over 1 week to 50ml/day. If having it as a daily drink, our digestive system needs time to adjust to the new bacteria, which could be in very high levels. After one week you may like to start having 50ml twice daily. You can drink occasionally, but this is all that is needed for daily maintenance.
CAUTION: kombucha brewed in this manner may contain between 0.5%-3% alcohol. The longer it is brewed and the more sugar it contains, the higher the alcohol content. Kombucha is not suitable for children. If you practice strict alcohol abstinence or have a restricted driver's licence, kombucha is not for you. If you are pregnant you should limit your intake accordingly.
Get Creative
Once you have mastered the basic technique and are making successful brews, you may like to experiment with the type of tea you use. Oolong, English breakfast and White tea all make for interesting variations. Steer clear of Earl Grey or anything flavoured with citrus oil as these may kill your scoby. Black tea is the most fail-safe but you can try using half and half black tea and green tea, or 100% green tea for a lighter taste and less caffeine. You can add herbal teas, in addition to the green/black/white tea to add another layer of flavour to the brew. Lemongrass, elderflower, nettle, rosehip, echinacea, lemon balm and hibiscus tend to work well. Hibiscus is one of my favourite and is lovely with ginger in the second ferment. You need to add a decent quantity of herbals to taste them – start with 6 teapoons per 1.5L and experiment from there.
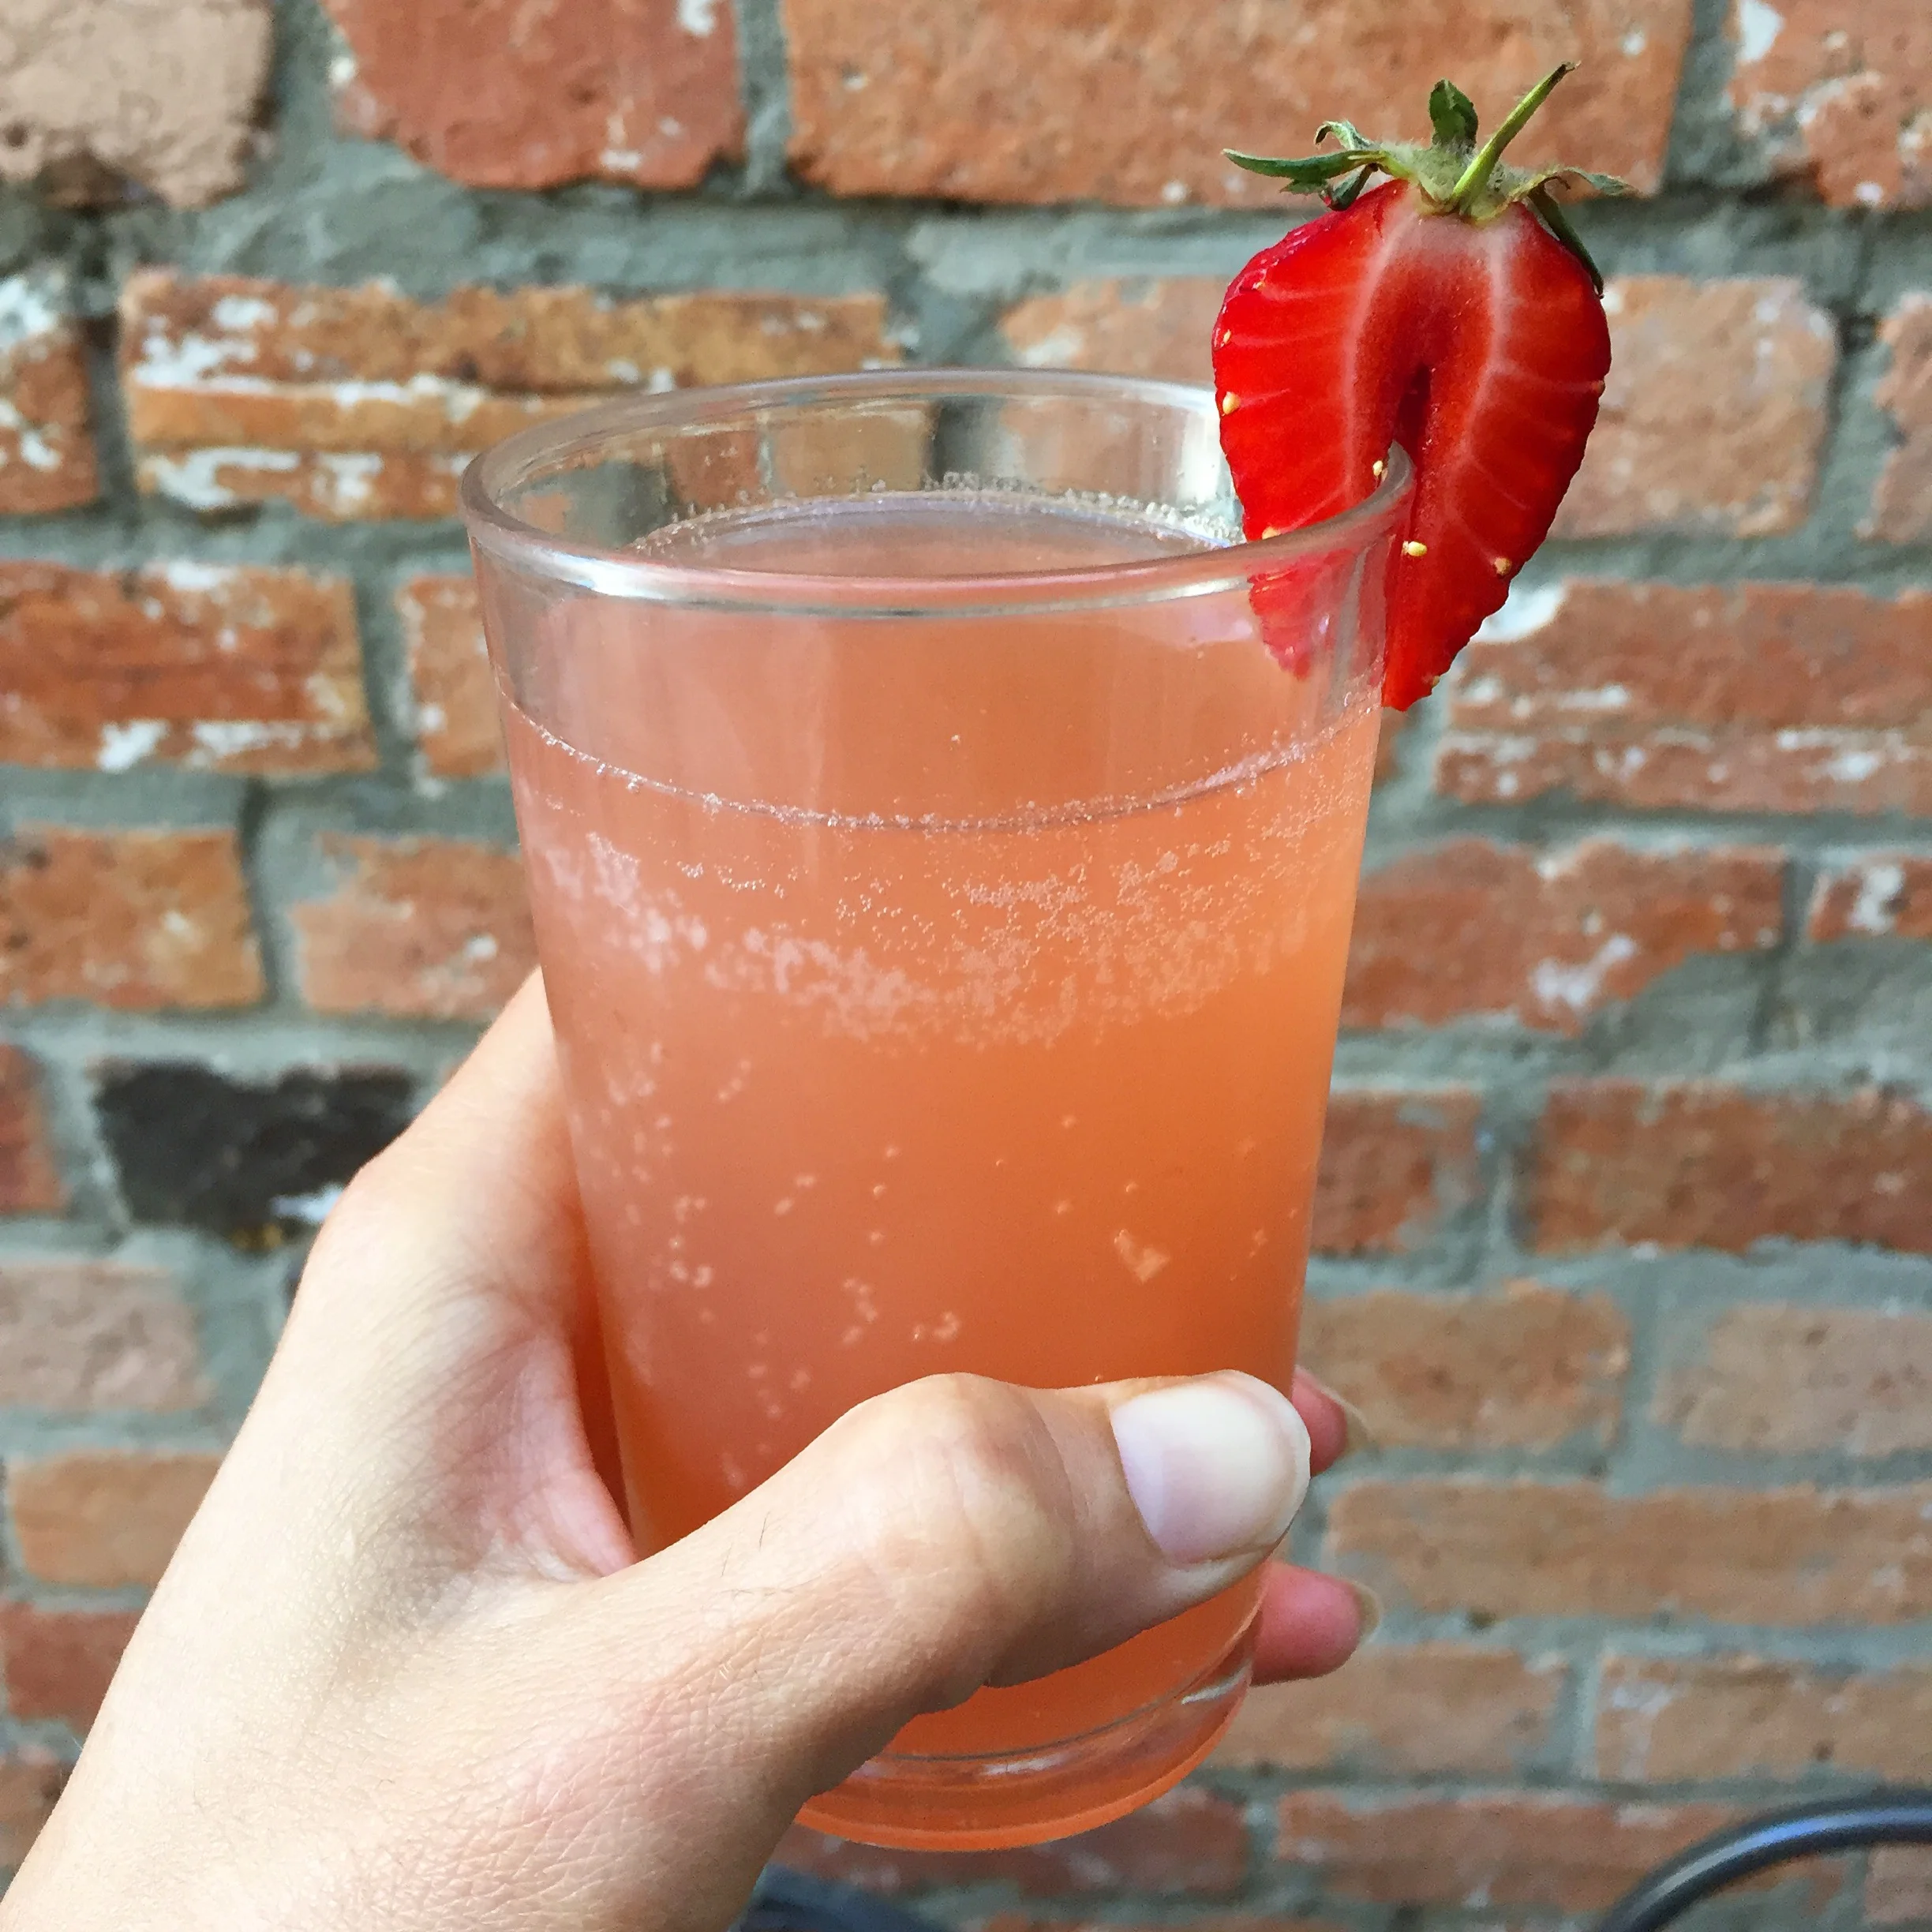
Festive Fizzies
Try making these or your own festive creation to cut down on your alcohol consumption. If you haven't got time to brew your own kombucha before Christmas, don't worry! You can always use a store-bought kombucha, such as Good Brew, from your local Health Food shop.
Strawberry Basil Mocktail

Add 100ml strawberry basil kombucha & 100ml of a sparkling mineral water, such as Hepburn Springs, to a cocktail glass. Throw in 2 chopped strawberries and 2 fresh basil leaves.
Hibiscus Heaven Mocktail
Add 100ml hibiscus kombucha to a tumbler half filled with ice. Add 2 slices of fresh lime and a few smashed frozen raspberries. Top up with sparkling water if needed.
Troubleshooting
What is normal?
It is normal to have some brown stringy things hanging of the bottom of your scoby.
It is normal to have a cloudy layer begin to form on the top of the liquid during the first fermentation. This is the beginning of the formation of a new scoby. By the end of the first fermentation you will have grown a baby scoby. This is what you can donate to someone else if you like. Or you can start a second brew going. If you don't need it you can throw it out. Or if you want to slow down the brewing process of your next batch, you can use the new scoby and throw the big one out. Up to you.
What is NOT normal?
Furry mould of any colour growing on the top of your brew or scoby at any time is NOT normal. If this occurs ditch the whole thing, get a new scoby and start again. Don't be discouraged. Sterilising all equipment with boiling water and allowing it to air dry, and following this recipe as close as you can, will limit the chance of it happening again.
Happy brewing and all the best for the festive season,
Josephine